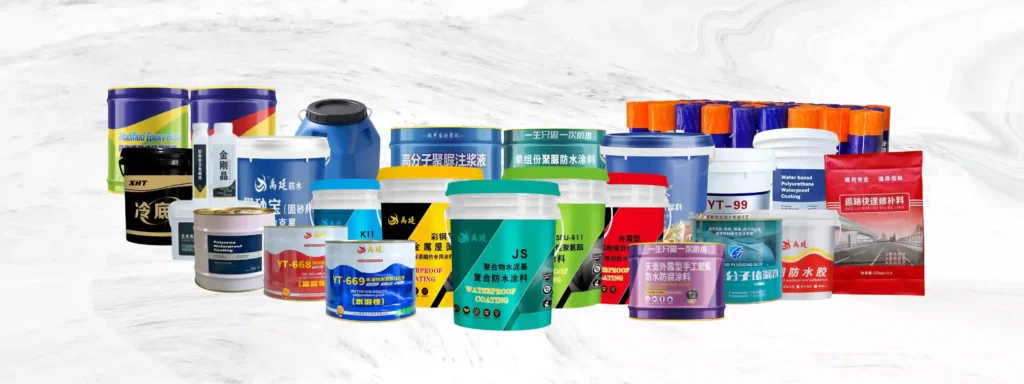
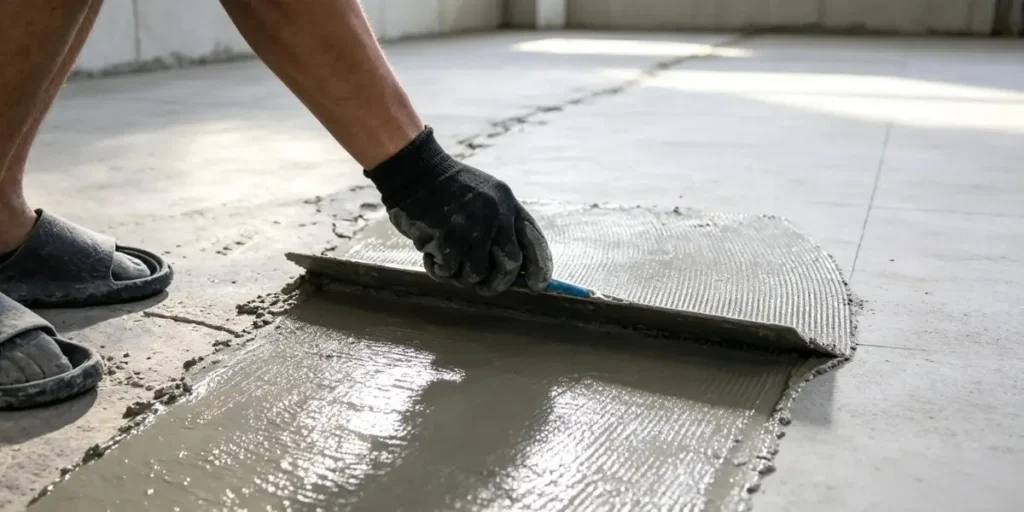
BOSLAI Waygo Cement Repair Mortar (Waygo Concrete Repair Mortar)is a high-performance, one-component grey powder specifically formulated to repair defects in cement concrete surfaces — including pitting, hollow spots, spalling, delamination, cracks, and exposed reinforcement. With a compressive strength of up to 60 MPa at 28 days, it delivers excellent bond strength and enables ultra-thin layer repairs with rapid traffic reopening.
View more details about Waygo Cement Repair Mortar, please click here.
This guide walks through the complete application process, from surface preparation to curing, along with critical precautions to ensure a long-lasting repair.
What is the application range of Waygo Cement Repair Mortar?
Boslai Waygo Cement Repair Mortar is suitable for all cement concrete surfaces, including but not limited to:
- Highways and expressways
- Factory and warehouse floors
- Parking lots and industrial parks
- Service areas, gas stations, and driving schools
- Bridges, steps, and terraces
- Roofs, garages, and both interior and exterior environments
How to apply Waygo Cement Repair Mortar?
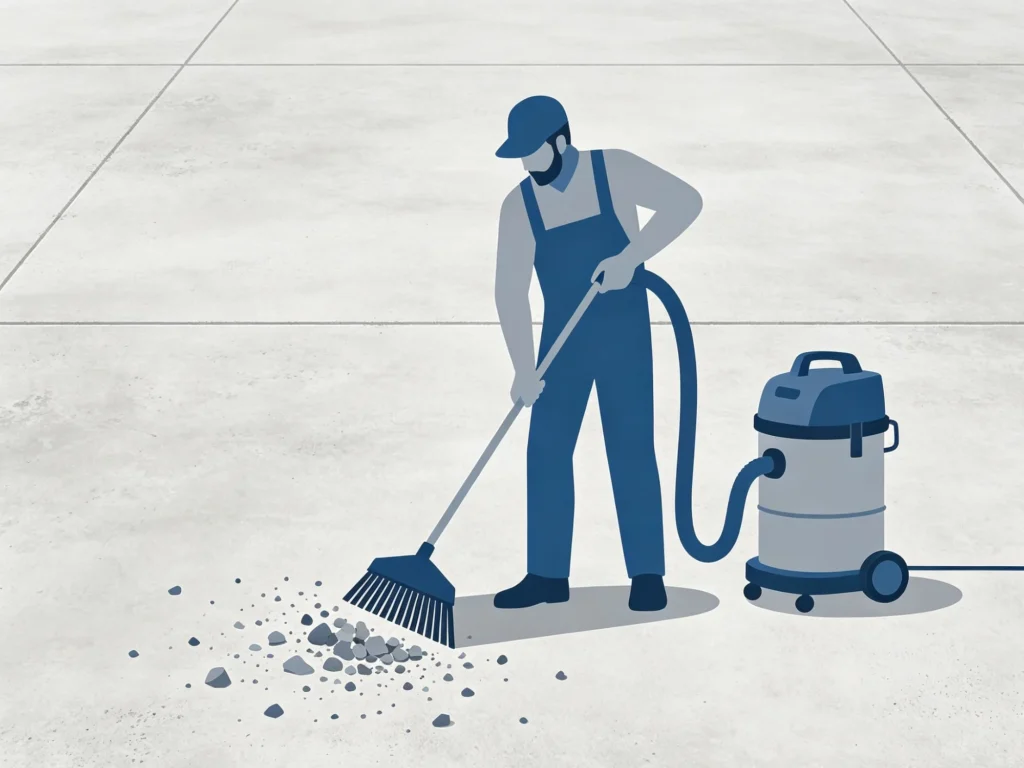
Step 1: Substrate Preparation and Cleaning
Before application, thoroughly clean the base surface. Remove all loose particles — gravel, dust, sand, and any debris. The cleaner the substrate, the stronger the bond with the repair mortar. This step cannot be overstated: applying the product over a loose or unstable base will inevitably lead to cracking or fragmentation, much like building on a weak foundation.
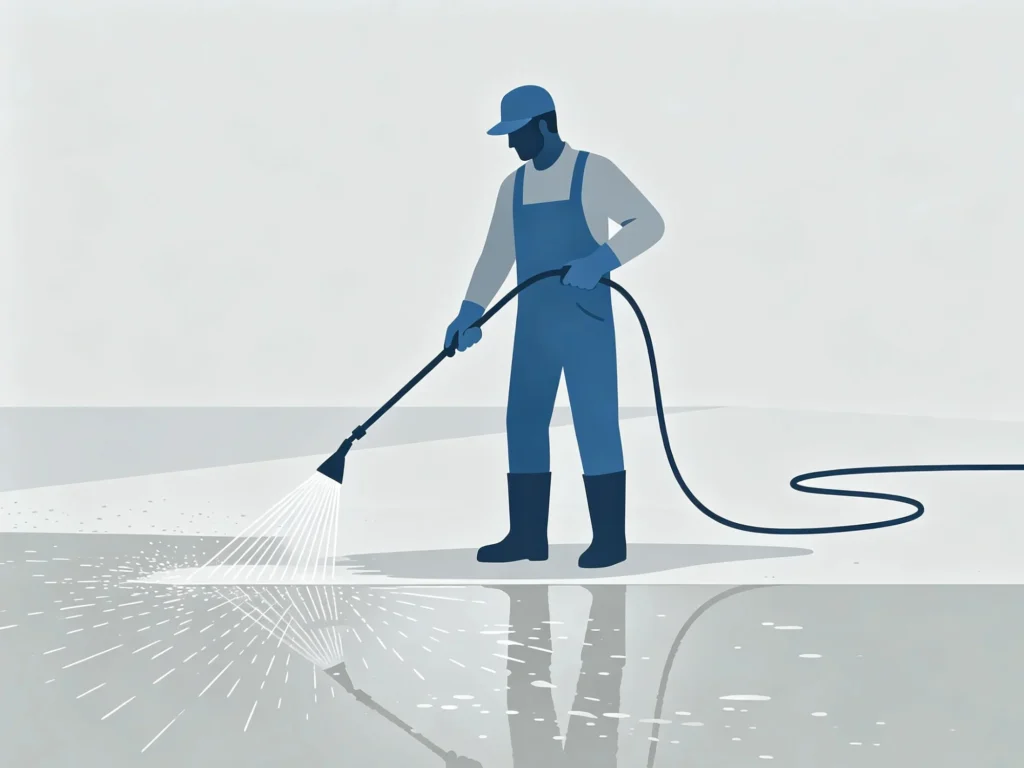
Step 2: Substrate Saturation with Water
Saturate the ground completely using a high-pressure water jet. Apply water repeatedly until the surface no longer absorbs it. This step is critical — insufficient saturation allows the dry substrate to rapidly draw moisture from the freshly applied mortar, which compromises bond strength and can cause delamination and cracking.
Step 3: Control of Surface Moisture
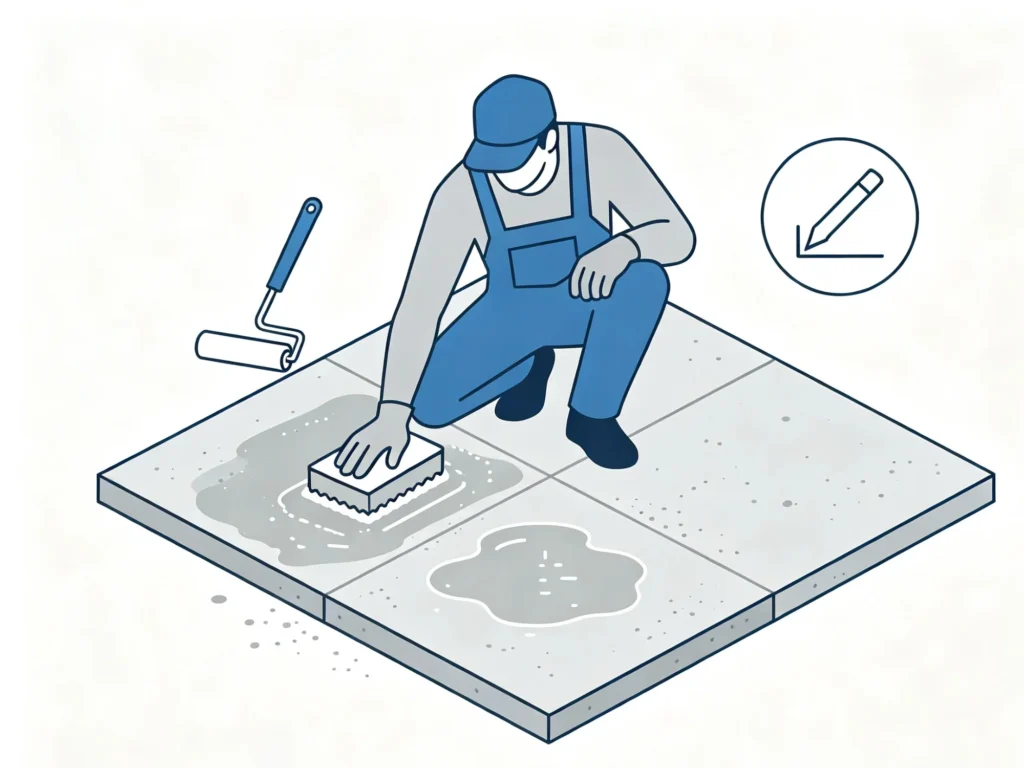
After saturation, ensure the substrate is damp but free of any visible standing water or puddles. If excess water is present, remove it with a sponge or cloth. This prevents material dilution and bubble formation during application.
Step 4: Primer Application (Optional)
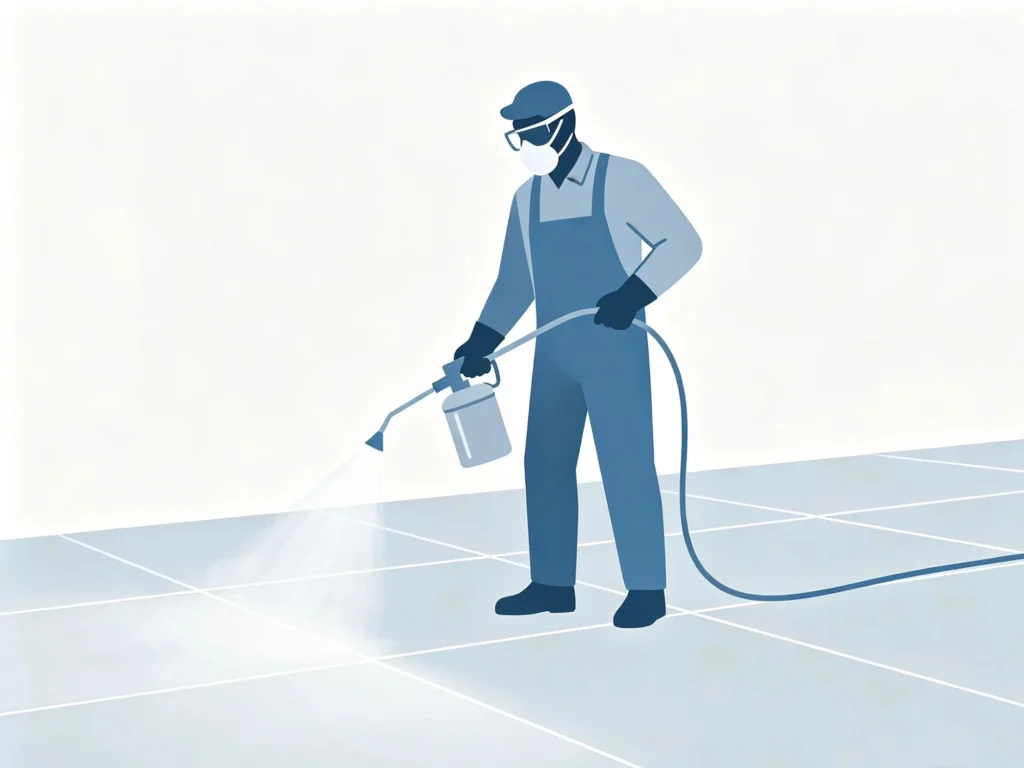
If conditions permit, apply a bonding agent or Boslai concrete surface hardener as a primer using a cross-hatching method — one horizontal coat followed by one vertical coat, for a total of two coats. While optional, this step enhances adhesion, particularly on highly porous or worn substrates.
Step 5: Mixing the Mortar
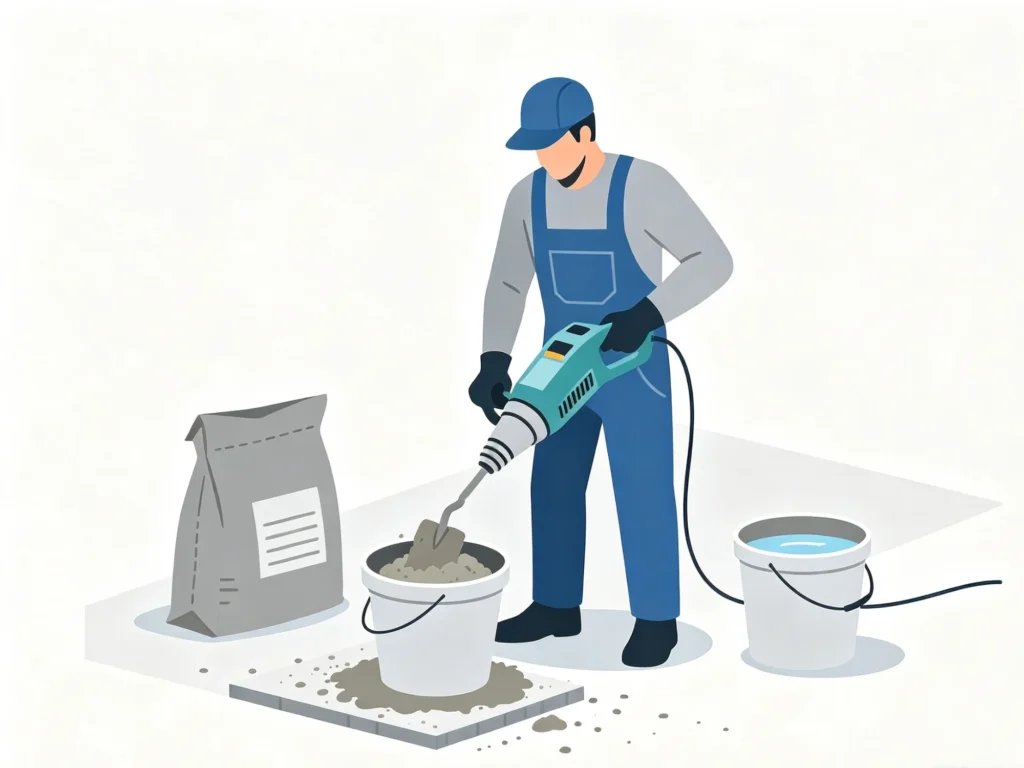
Mix one 25 kg bag of Waygo Cement Repair Mortar with 4.5 liters of clean water. Follow these mixing rules:
- Always add water to the mixing container first, then add the dry powder.
- Use a mechanical mixer and blend for approximately 5 minutes until the mixture is homogeneous, lump-free, and bubble-free.
- Do not exceed the recommended water ratio. Excessive water causes sand particle segregation and weakens the final repair.
The working time after mixing is approximately 20 minutes, so only mix what you can apply within that window.
Step 6: Application and Finishing
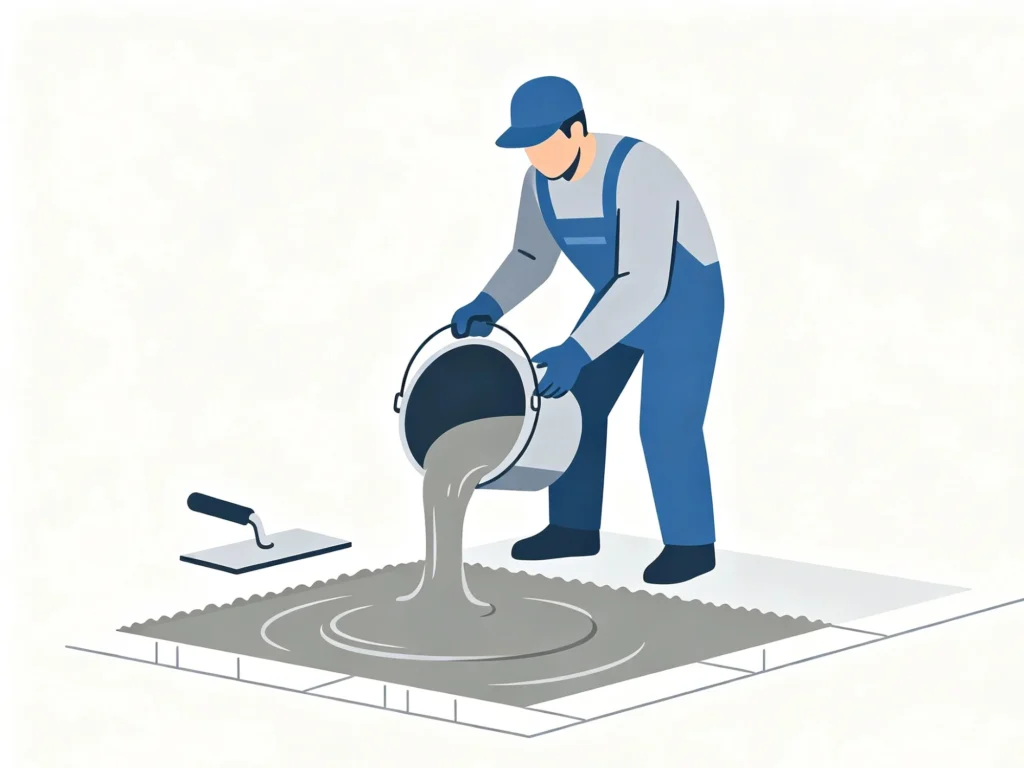
Pour the mixed mortar onto the prepared substrate and use a notched trowel to spread and level the material. Key points during application:
- Apply at a thickness of 3 mm to 5 mm.
- Complete the entire spreading and leveling process within 20 minutes to prevent the mortar from beginning to set.
- Immediately after troweling, pass a spiked roller over the surface to eliminate any entrapped air bubbles.
For recommended coverage: one 25 kg bag covers approximately 5 m² at the standard 3–5 mm thickness.
Step 7: Curing and Opening to Traffic
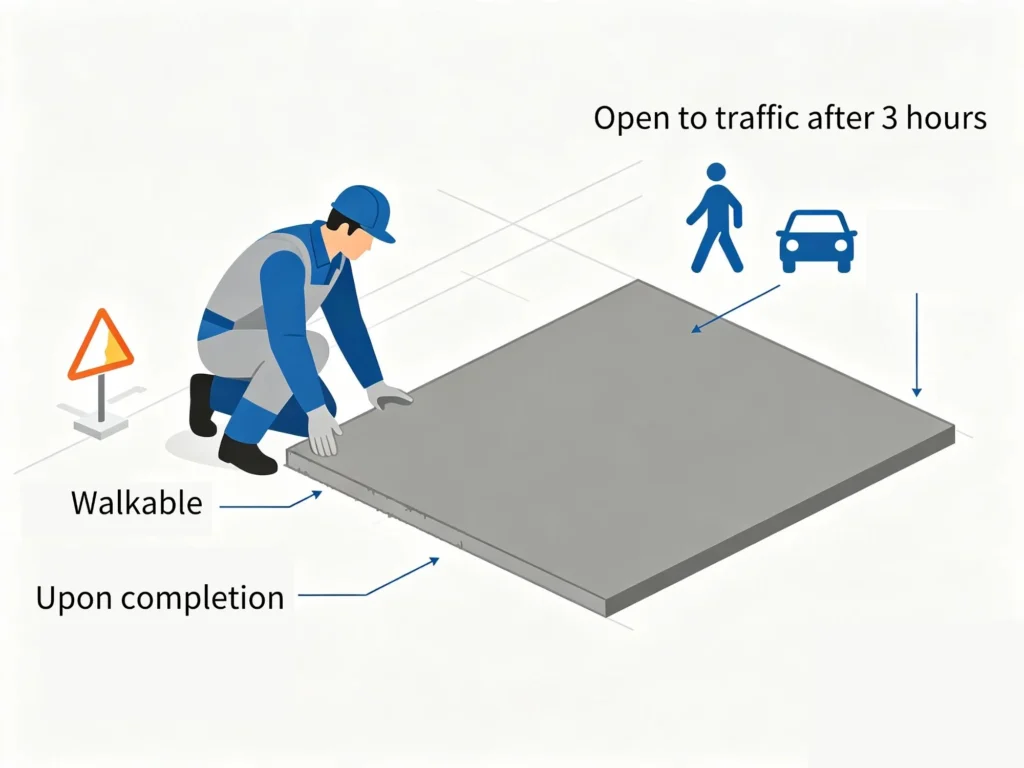
No watering is required after application. Under natural curing conditions:
- The surface becomes walkable after approximately 6 hours.
- Repaired sections can technically reopen to vehicular traffic within 3 hours at room temperature.
- For maximum service life, it is highly recommended to delay vehicular traffic until the following day.
If the surface appears excessively dry during curing, lightly re-moisturize by sprinkling or spraying a fine mist of water.
What precautions should be taken when applying Waygo Cement Repair Mortar?
1. Substrate Integrity Is Non-Negotiable
Proper substrate preparation is the single most important factor in a successful repair. Never apply Waygo Cement Repair Mortar over loose, crumbly, or unstable concrete. All looseness must be eliminated before proceeding.
2. Thin-Layer vs. Deep Crack Repairs
Waygo Concrete Repair Mortar is optimized for thin-layer, large-area repairs at 3–5 mm thickness. For small, deep cracks:
- Use a saw cutter to widen the crack first.
- Clean the cavity thoroughly.
- Pour the product directly into the void.
For larger cracks, add crushed stone or coarse aggregate to the mix to enhance structural strength.
3. Temperature and Weather Requirements
- Apply only when the ambient temperature is above 5°C (41°F).
- Do not apply during rainy conditions or when rain is imminent.
4. Water Ratio Discipline
Always measure water precisely. Adding extra water to extend working time will degrade compressive strength, bond strength, and overall durability.
We also have a video version of the complete application steps — contact us at info@boslaiwaterproof.com to request the video guide.
Handling, Health & Safety
- Wear rubber or plastic gloves throughout the application process to avoid prolonged skin contact.
- This product is for professional use only.
- If the product contacts skin, rinse the affected area thoroughly with clean water.
- The product is eco-friendly and non-flammable.
Storage
Store Waygo Cement in a dry location, protected from direct sun and rain. Shelf life is 6 to 12 months from the date of manufacture when stored under proper conditions.
As the leading manufacturer and exporter of Waygo Cement Repair Mortar, we invite you to join our global distribution network. Contact us today to learn more.
We’ll get back to you within 24 hours. Emails occasionally end up in the spam folder, so we kindly ask you to provide your WhatsApp so we can reach you urgently if needed.
Related Products
- Polymer Modified Bitumen Waterproof Coating
- Acrylic Waterproof Coating
- Concrete Surface Hardener
- Water-Based Polyurethane Waterproof Coating
Related Posts
- Detailed Waygo Cement Repair Mortar Application Procedure and Precautions
- Why Your WAYGO Cement Repair Mortar Application Failed (and How to Fix Each Cause)
- WAYGO Cement Repair Mortar Application Precautions! (Part 1)
- WAYGO Cement Repair Mortar Application Precautions! (Part 2)
- What Is Waygo Cement? A Complete Guide to Waygo Cement Repair Mortar